
What Are Staff Accounts?
Staff accounts let you give your team members access to BookThatApp without sharing your main Shopify store login. Think of it as giving each employee their own key to the parts of your booking system they need to use.
Important: The number of staff accounts you can create depends on your BookThatApp subscription plan. Check our pricing page to see what's included in your plan.
Once you enable staff accounts, everyone (including you) will log in through bookthatapp.com instead of your Shopify admin.
When Should You Use Staff Accounts?
Staff accounts are perfect for businesses that need to:
Manage team resources
- You have staff who provide services (like stylists in a salon or instructors at a fitness studio)
- Different team members work at different locations
Keep things organized and secure
- Connect individual Google Calendars to show real-time availability
- Limit who can access your main Shopify store
- Control what information each person can see based on their role or location
Examples:
- A salon with multiple stylists who each need to see their own bookings
- A fitness studio with instructors at different locations
- A consulting firm where each consultant manages their own calendar
Setting Up Staff Accounts
Step 1: Enable the Feature
- Go to Settings → Staff And Resource Management in your BookThatApp dashboard
- Click on Staff Accounts
- Check the box that says Enable Staff Accounts
Select the checkbox to Enable Staff Accounts.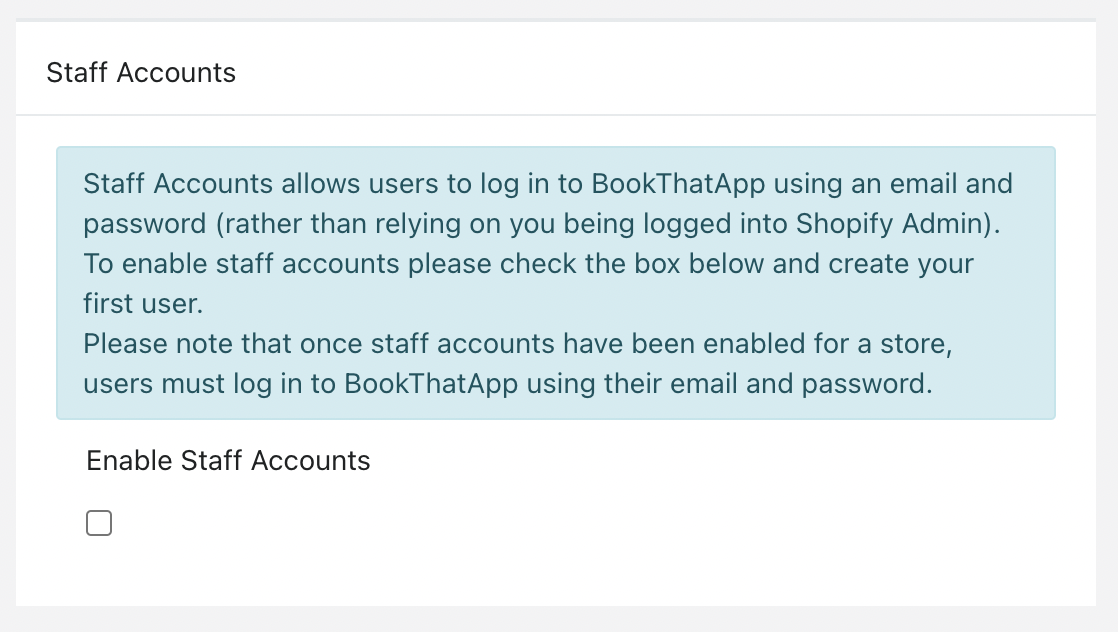
Step 2: Create Your Admin Account
The first account you'll create is for yourself (the owner/administrator). This account will have full access to everything.
Step 3: Add Your Team Members
- Create accounts for each staff member
- Enter their email addresses
- They'll receive an email to set up their password
Password Requirements: Staff members must create passwords with at least 8 characters when they set up their accounts.
Staff Account Roles
- Administrators have access to everything.
- Staff Member access has the following limitations.
| Calendar | Has access to everything except "Announcements" |
| Product | View only, cannot add/create, bulk import |
| Customers | Can view customer's list and create new customers, but can't edit existing ones. |
| Reports | Has access to everything except for "Sales" |
| Configuration | Resource ONLY |
| Notification | No Access |
| Cancellations | No Access |
| Billing | No Access |
| Setup / Installation | No Access |
| Widgets | No Access |
| Developers Guide | No Access |
Location-Based Access: If a staff member is assigned to specific locations, they'll only see bookings and services for those locations.
Connecting Staff to Resources and Locations
This feature helps you organize who can work on what services and where.
Setting Up Resources
- Go to Settings → Resources
- Create a new resource and set the type to "Staff"
- Select the staff account in the "User" field
- Assign locations to this resource
Connecting Products to Locations
- Go to your product settings
- Assign the same locations to products that match the staff resource locations
Example: If Sarah works at your downtown location, create a "Sarah" resource, assign her staff account to it, and set the location to "Downtown." Then assign your downtown services to that same location.
Google Calendar Integration
One of the best features of staff accounts is direct Google Calendar connection.
How It Works
- Staff members can connect their personal Google Calendar
- Their BookThatApp bookings automatically appear in Google Calendar
- If they're busy in Google Calendar, that time becomes unavailable for bookings
- No double-booking headaches!
Setting Up Google Calendar
- Staff member logs into their BookThatApp account
- Clicks their name in the top-right corner
- Selects "Profile" from the dropdown menu
- Follows the steps to authorize Google Calendar connection
Important Note: When creating recurring events in Google Calendar, make sure to set both a count (how many times) and an end date for the system to work properly.
Google Calendar Direct Connection
Note- If you create a recurring event in Google you will need to specify a Count and Until value.
Reverting back to Shopify Admin Login
If you would like to disable staff accounts (or are locked out) please contact us.
Comments
0 comments
Article is closed for comments.